10: Prototype Builds
December 24, 2020
The prototype builds let us get into testing but they're also an important step in determining how we might build up the production bikes...
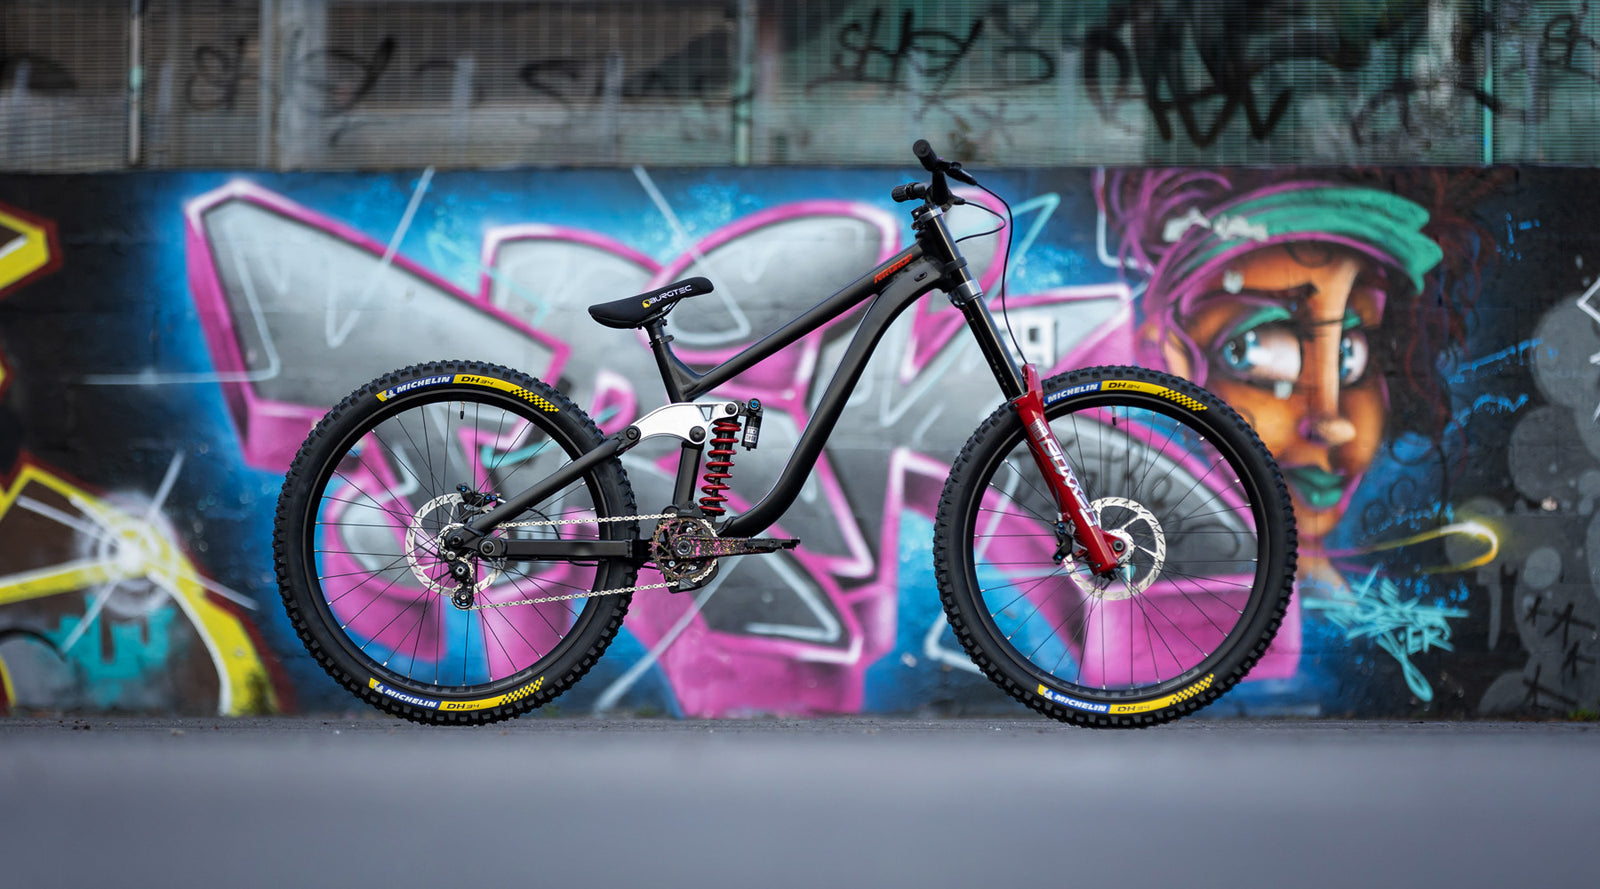
When it came to building the Slacker prototypes we put a lot of thought into the build kit. The main purpose of the build is obviously rider testing and further development so with that in mind the parts list needs to be products we are comfortable with, products that we trust and don’t need to spend too long getting used to or setting up. When riding development bikes you need to be able to focus on how the frame alone feels, so having parts that you already know and trust make this a lot easier; it allows you to focus on exactly what's going on underneath you without getting distracted by the components.

It’s also an ideal opportunity to build the bike as we might want to sell it, that way time testing the prototype frame also doubles as ironing out any creases with the build kit. As part of a development process we will actually put together a few potential builds to foresee if we would be competitive in that category, it helps us understand where the Slacker would sit compared to other brands' offerings right from the off.
Reach Adjust Headset
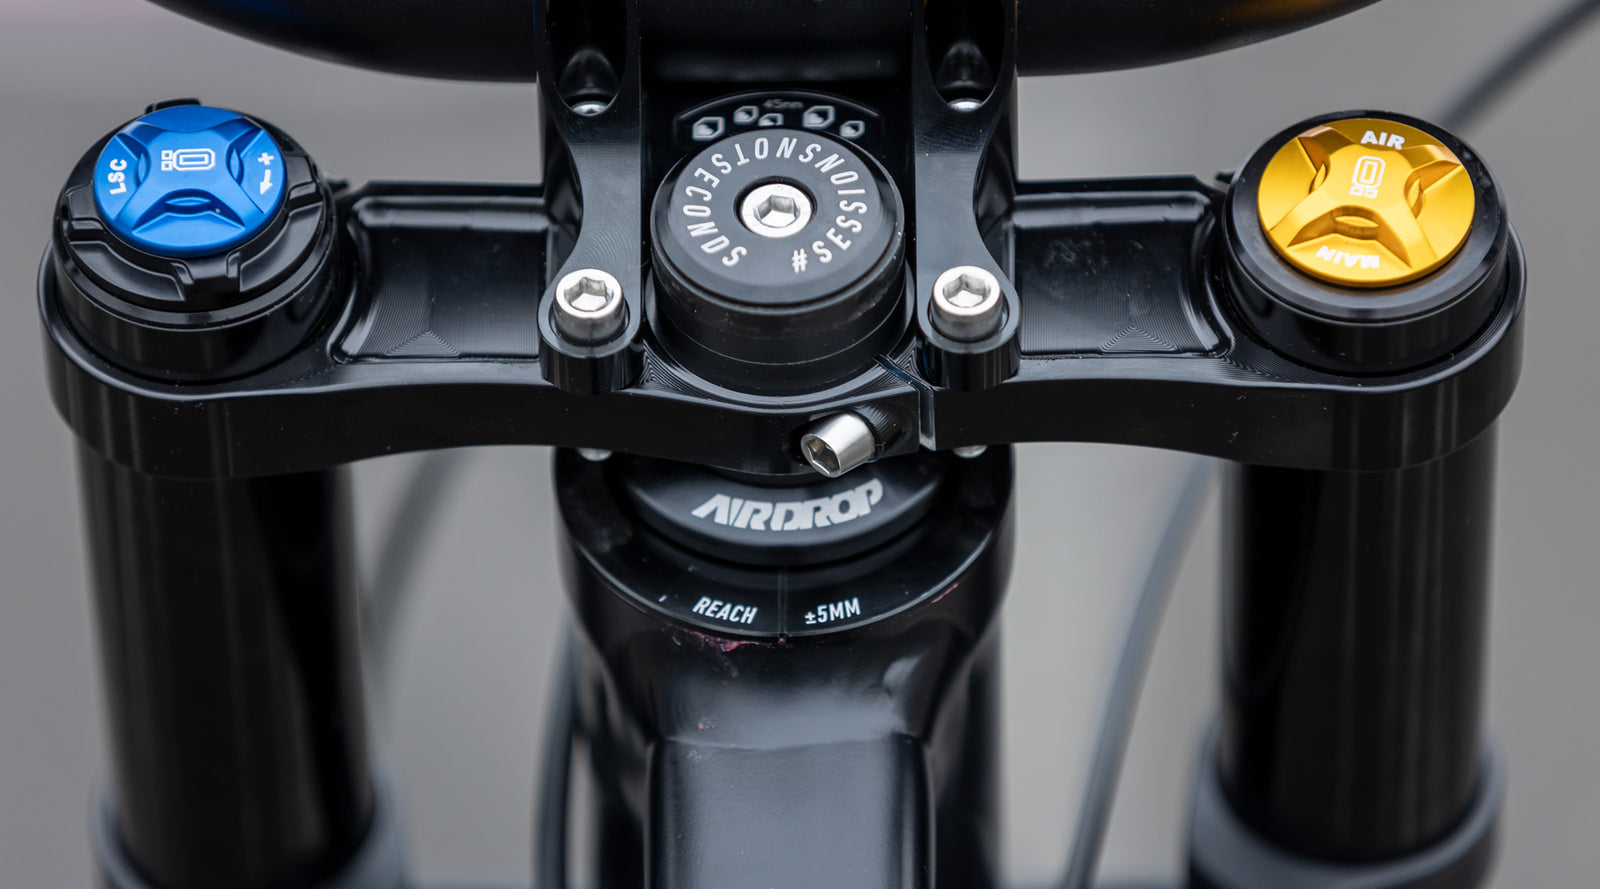
As part of the Slacker Project we're developing our own reach adjust headset to give riders multiple reach options within one size. The frames will be supplied with a +/- 5mm offset cup and a centred cup giving 3 different positions, for this frame those reach options would be 465/470/475mm.

For now both me and Andy (Andy 6', James 6'2") have settled on the centred position giving a 470mm reach. After months of testing we feel 470mm reach gives us a good balance between playfulness and stability. Obviously each setup excels in different situations but 470mm is a good compromise.
Wheelset
Hope are actually one of the few manufacturers who offer a DH specific hub. The hub is designed around the narrower 7spd DH cassettes which allow Hope to use a wider flange spacing, whilst still keeping the flanges symmetrical. This gives a shallower spoke angle and in turn a build with equal spoke tensions across both dive and non-drive spokes, which makes the wheel build both stronger and stiffer.

For rims we are using the Hope Fortus 30, this rim uses reinforcement beams on either side effectively bracing the rim wall to the rim bed. This does push the weight up a little but gives a much stronger rim that should resist impact damage.
After months of testing, including a few days at Nevis range, the wheels are still relatively round despite a few hefty cases and big impacts.
Tyre Choice & Pressures
We built the Slacker in Winter so wanted to go for a tyre combo best suited to the grim UK Winter conditions we all love. After all there's nothing better than a sloppy day packed into the back of a Landrover struggling to keep the grit out of your eyes.
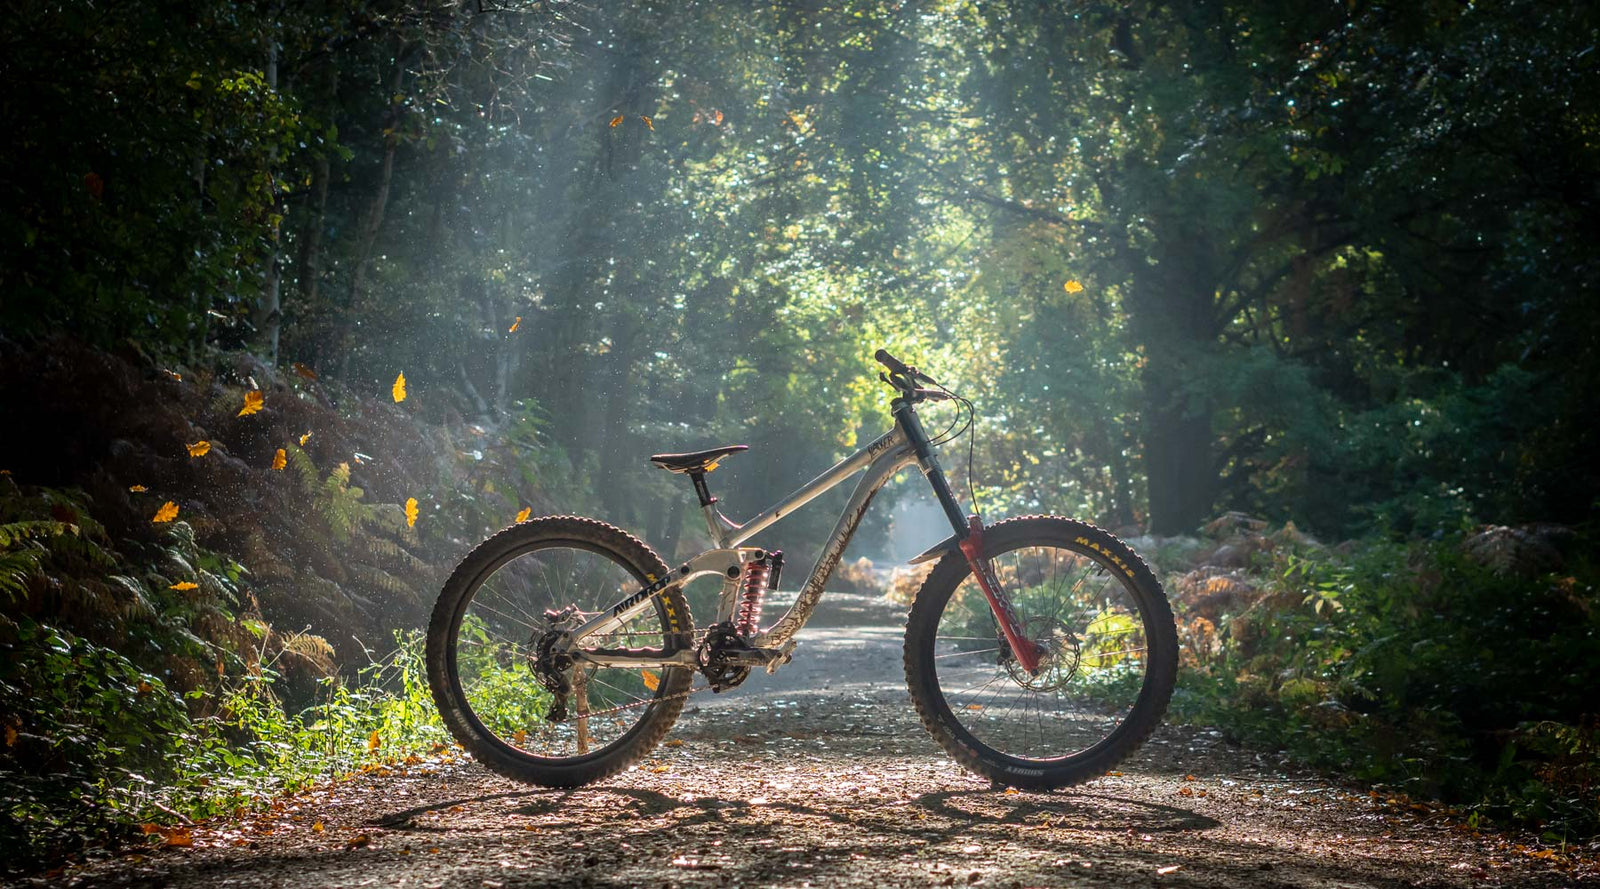
We opted for a Maxxis Shorty 27.5x2.5" front and Maxxis Assegai 27.5x2.5" rear, both with dual-ply DH casings and 3C Maxxgrip compound. For pressures we're running 25psi front, 29psi rear. This tyre combo can be ridden in all manner of conditions but really excels in some UK winter bike-park slop.
Fork
Rockshox Boxxer Ultimate, 36mm Offset, 200mm travel. If you follow Airdrop you're probably aware we are big SRAM/Rockshox fans so opting for the Boxxer was an easy decision. It’s a fork we have previously spent a heap of time on and are very familiar with the damper as it's shared with the Lyriks we run on our every-day bikes.

Rear Shock
Super Deluxe Ultimate DH Coil, with a 400lb spring. As with the fork it’s a shock we have spent a lot of time with, it's easy to dial in and is a solid performer. At this point in development process we didn’t want to spend too much time dialling in base tunes so the set-and-forget nature of the Super Deluxe was ideal.

Suspension Setup
DH bikes are built for going flat out. Hop off your regular pony and on to a DH steed and you’re going to end up going quicker. Faster speeds mean bigger impacts which we reckon justifies a different setup.
Up front we are running 145psi and 6 tokens; a lot of air and a stack of tokens. 1 click HSC, 8 clicks LSC and 5 clicks rebound. Our fork setup is probably on the firmer side of things but both me and Andy favour a fork that rides fairly high in its travel and resists diving through its stroke. Setting the fork up like this keeps the bars high in relation to the BB and maintains a slacker head-angle.
Out back we are running a 400lb Spring with 8 clicks LSC and 7 clicks rebound. This results in around 28% sag if measured on flat ground. This probably sounds over-sprung but we have found when setting up a bike for DH alone you can't set up from sag measured in the workshop. In reality a DH bike spends all its time pointing downhill which means your weight bias is more rearward, the 400lb spring give us around 33% sag with a 65-70% rear weight bias.
Cockpit Setup
Another all-Macclesfield affair. Burgtec like ourselves are super passionate about DH, so it was only right to go all in on Burgtec for the Slacker build.

We went with a 50mm Mk3 Direct Mount stem, 38mm Ride High alloy bar and Bartender Pro grips. Both me and Andy favour a high front end so the high rise 38mm bars are spot on for us, we lift the lower crown 5mm from the stock position effectively lengthening the axle to crown from 582mm to 587mm, we have just x1 5mm spacer under the upper crown. We did play around with some additional Burgtec stem spacers but found the front end a little too high and struggled to weight the front wheel so have settled on zero stem spacers.
Drivetrain
SRAM GX DH 7 Speed and Truvativ Descendant alloy cranks. The GX DH groupset is a no-frills workhorse; it's affordable, stands up to the constant abuse dished out on DH bikes and continues to function even when both the mech and hanger are out of line. The shifter ergonomics aren’t quite as nice as the X0 shifter but for a DH bike where you spend less time shifting gears it's fine.

Chain Device
For a DH bike, a chain guide with bashguard/slider is a must. We opted for an MRP SXG - the same one we run on the Edit v4 Works. This actually isn’t MRP's full DH offering, it uses a slightly short slider than the G4 and doesn’t use a traditional lower roller; instead using a wraparound slider to retain the chain. We prefer the SXG as its lower guide design means zero drag and in turn less chain noise, so far we have had no issues at all zero chain drops and the bash guard has fended off everything Wharncliffe has thrown at it.
Brakes
Code RSC’s, with 200mm rotors front and rear. For us these brakes are tried and tested, we are big fans of the performance. We do prefer the organic pads to the stock sintered ones supplied with the brakes as we feel they offer better modulation and bite. We have designed in clearance for 220mm rotors but we haven't got round to testing them yet.
Flats or Clips?
You even have to ask?

Sadle & Post
DH Specific saddles are few and far between, but tyre-to-saddle clearance at full travel is a real issue for a DH bike. WTB’s Hightail is one of the few DH specific saddles that is designed to give additional tyre clearance at full travel, this means shorter riders will be able to run a lower saddle position without having to push the saddle too far forward. We actually used the WTB Hightail to define clearance when working on layout and kinematics. A key design consideration was making sure we had tyre clearance at a defined minimum saddle height of 510mm and using the WTB Hightail was key to this. Using the Hightail not only allowed us to achieve the 510mm min saddle height it also allowed us to position the seat-tube and saddle further back keeping it out of the way of the rider.

Tyre Inserts - Yay or Nay?
For now we aren’t running any inserts, however we are big CushCore fans when it comes to DH. The increased rotational mass is less of an issue for DH bikes and the tyre stability and damping properties of a CushCore really come in to their own for DH. If good old Corona hadn’t raised her ugly head and we had managed to get the Slacker overseas this summer I'm certain we would have fitted CushCore for the trip.
Anything You Would Like To Try?
I’m a bit of single speed advocate on DH bikes. Many seasons of being a park rat in both Whistler and Queenstown led me down the single speed path. If you're riding bike park a lot the simplicity makes a lot of sense. We would love to offer a single speed bike park specific spec as and when we get the Slacker into production.
I would also like to try out an EXT shock on the big rig, the Storia on my Edit has been a bit of a game changer, so I’m certain the EXT ARMA with hydraulic bottom out adjustment would be a winner for the Slacker.

Previous Chapter:Prototype Teardown |
Next Chapter Coming Soon:Ride Testing |
James Crossland
James grew up in Sheffield and Wharncliffe is his local. He spent a few years guiding in NZ but now he's back, helping with all things Airdrop.
1 Response
Leave a comment
Comments will be approved before showing up.
Also in The Slacker Project

19: The End
January 24, 2023
We made it. And although it's been a massive team effort, James has been the main man. So it's only fitting that he should have the last word...
Read More

18: The Devil's In The Details
January 13, 2023
One last chapter to nerd out on all the little details of the Slacker frame before we launch in a couple of weeks.
Read More

17: The Range
December 25, 2022
Find out all the juicy details of Slacker build kits, spec and pricing.
Email Newsletter
Our monthly email newsletter gets you access to all the good stuff before everyone else.

Haydn Evans
December 29, 2020
Been following The Slacker Project for a while now and the detail you guys give on what goes into developing a brand new bike is crazy. Really looking forward to seeing the finished product and hopefully one getting the chance to own and ride one.