
5: The Package
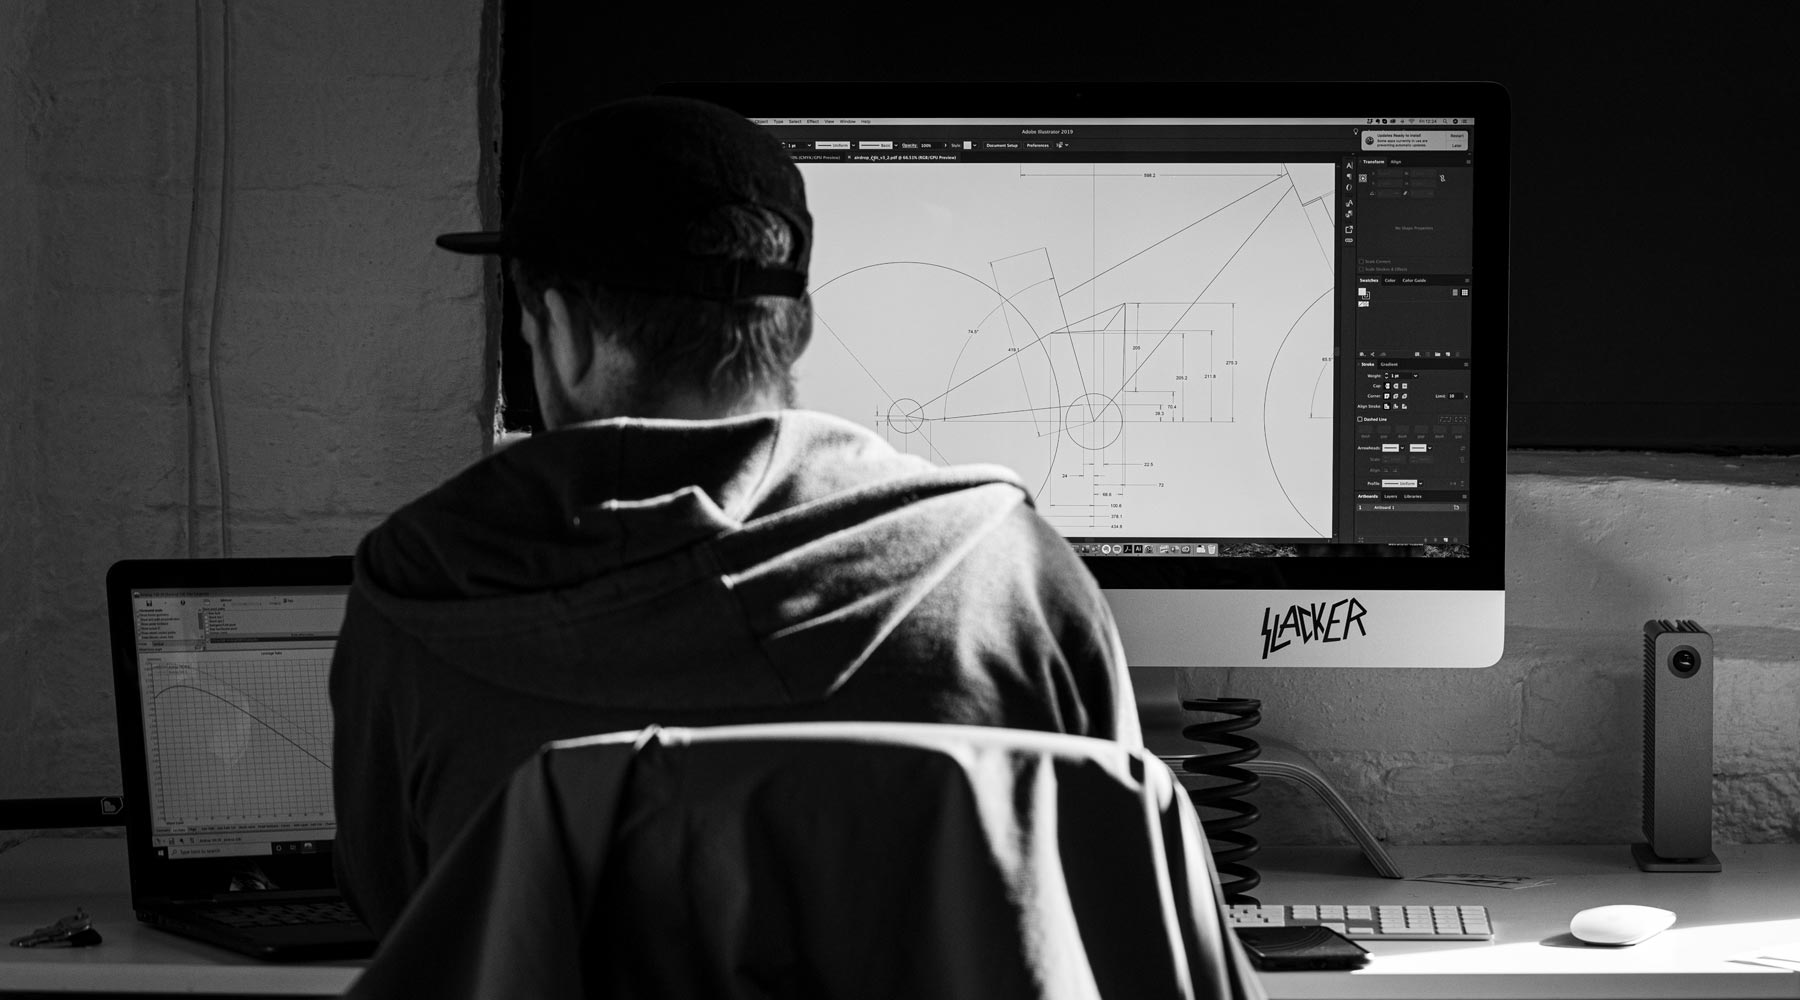
You sit down to design a downhill bike from scratch. Where do you start? How do you fit everything you want in the same package, and how do you know if that's even possible?
Any designer worth their salt will tell you that design is about understanding the constraints you have to work within. For a project like this, that might include budgetary considerations, time, materials, tooling, standards and compatibility issues, geometry, kinematics, layout and so on. When you understand where the boundaries are, you're free to work and to move forward. Your constraints will help to keep you grounded and realistic in your ambitions, and they also help you to focus on what's really important.
So before any detailed Slacker design work gets started we need to make a few calls, drawing on everything we've learned from previous projects, our experience riding downhill bikes and with careful consideration to the brief. These decisions allow us to get started on the layout and kinematics and define the hard points of the bike. These hard points for now at least are immovable and they define the real estate we have to work within while putting together our first draft of the layout and pivot locations. It's what you might call the package of the bike.
In this blog we'll get into why we made these calls, our thinking behind them and we'll shed a little light on a part of the process that doesn't always get a lot of attention. And it's worth a reminder at this point: you can't always fit everything you want into the same package. The challenge is to strike the best balance you can within the constraints you've got to work with...

Layout
If you follow Airdrop you'll know that we use a Horst Link layout for all our full suspension frames. (The Horst link is a type of four-bar linkage defined by the rearward pivot being on the chain-stay). We've stuck with this system since quite early on in the Edit v1's development in 2015. Our layout comprises of a pair of seat-tube mounted rocker plates driving a vertically mounted shock. For the Slacker this is one of the first big questions but we see no good reason to depart from this layout. We're confident that we can achieve our desired kinematics; we now have three iterations of the Edit under our belt (as well as yet to be seen stuff) so we know how to manipulate the pivot locations to get our desired kinematic characteristics. By vertically mounting the shock close to the BB in an already inherently strong part of the frame it avoids some of the engineering challenges that come with other layouts, and that's an area that could burn a lot of design-effort if we chose to start again.

Horst link really was a no brainer for us. Yes it is widely used by other brands, but for good reason. Like every system it has it's strengths and it's weaknesses but we understand these and we have experience of how to make the most of the system within it's constraints.
Undoubtedly there will be those who'll snipe at us for not being more innovative. Of course, innovation has it's place if you have the resources to do it and you're confident that you can deliver something that meets your needs better than what's already available. We don't feel the need to do that here; the Horst link gives us what we need. And we're not bothered about the 'market landscape' in the way that big brands are; we're not going to develop a new platform just so our bikes look unique (but aren't necessarily any better).
We're are embracing the looks like a session movement, and moving on. (but maybe we'll do a chapter on that specific point later).
Rear wheel travel
We think downhill bikes should have around 200mm of vertical rear wheel travel. You do see the odd 180mm travel "DH" bike but for us that's sailing too close to long-legged Enduro bikes, and the Slacker is not meant to be an "Edit DH". We are seeing a new crop of long-travel enduro bikes now, and people have even started to run dual-crown forks on them. But let's be clear: those are not downhill bikes. Yes, they have a lot of travel but they've been designed so you can pedal them up hills, with all the consequent effects on the packaging: tall seat tubes, steep seat angles, weight-conscious tubing and pedal-friendly kinematics. These are design compromises you don't have to make for a proper downhill bike.
On the other hand, pushing travel above 200mm might affect the playfulness we're looking for from the Slacker. So our second big call was to aim for a nice round 200mm of travel. This is something that we might play around with during the development and it can depend on how you manage clearances but aiming for 200mm as a starting point gives us something to work with.
Wheel Size
The big debate of our time! The brief for the Slacker was all about fun, clowning around with friends down the local, smashing out laps on uplift days: sessions not seconds. Big grins, high fives and hanging loose. With that in mind it's all about 27.5 inch wheels. Nimbler handling, a more direct connection to the terrain, increased feedback, more rider input, a more engaging and rewarding ride.
No doubt 29 inch wheels roll over the rough terrain better and would carry more speed, so if the Slacker was a race bike, big wheels would make sense. But it isn’t! On top of that, designing a package to accommodate big wheels, large volume tyres, 200mm of travel, and increased BB drop would inevitably mean major compromises. In particular rear-centre length and seat tube layout on the smaller sizes. This wouldn’t matter too much if we were designing a race bike where a long rear centre and riders of a smaller stature weren’t a consideration but for the Slacker it means big wheels are off the cards. (at least in the rear of the bike).
Before we move on, it's also worth addressing the obvious: 26 is, in fact, dead. We might be willing to take a risk on developing the Slacker, but we're not that crazy. Sure, we could design a great bike regardless of the wheel size. But if we eventually want anyone to buy it, sorry but 26 inch wheels aren't on the menu.
Tyre size
It might seem like this is something we can take for granted but experience teaches us otherwise. For a start, nobody makes a tyre that's actually the size that you see on the sidewall. After evaluating all the most common downhill tyres and studying drawings for the carcass size, tread width and tread tip radius it's clear that everyone's favourite downhill tyres are actually much smaller in volume than the latest breed of high volume all mountain tyres.

With that in mind we opted to base our clearances off the same tyre we use for all our other full suspension frames. Using a tread tip width of 71mm and a tread tip radius of 361mm, we then defined a minimum clearance of 8mm (ISO standard clearance is 6mm). In reality this tyre is much bigger than most people will fit; for context it's close to a WTB 2.6" tyre or a Maxxis 2.8" tyre at regular riding pressure. By increasing the minimum tyre clearance from 6mm (ISO Standard) to 8mm, this should mean real world you would expect to see 10-15mm clearance at the tightest point and in excess of 20mm in other areas. You can't really have too much clearance, but you can definitely have too little. So packaging constraints* aside, the more clearance we can design in, the better.
*Clearance / travel / layout is one of the key battlegrounds when designing a bike frame. We'll deep-dive on this subject in a later chapter.
Shock Specification
We decided to go with a 225mm eye to eye 75mm stroke Trunnion Mount shock. This would give a average leverage ratio of 2.66 across 200mm rear wheel travel.
A 75mm stroke shock is the longest commonly available in metric sizes. By using the longest available stroke shock it helps to keep the average leverage ratio low, meaning damper and spring are well balanced against each other. That should in turn mean we don't have to resort to funky shock tunes and less risk of any spring-weight or pressure issues, regardless of rider weight.

Opting to go for Trunnion mount shock over a traditional eyelet mounted shock reduces eye-to-eye by 25mm enabling us to have a slightly lower standover. A trunnion style mount also demands a bearing at the the upper shock mount pivot. For layouts such as ours where the upper mount goes through a much larger degree of rotation than the lower this makes sense as it increases small bump sensitivity and eliminates bushing wear at the top shock eyelet.
BB drop
We decided to aim relatively low with 12mm BB drop; as far as 27.5 inch downhill bikes go that will be one of the lowest, if not the lowest. Our thinking being as a fun, non-racy bike we don’t expect riders to be in any particular rush to mash the pedals through rough terrain and it should aid in making the rider feel like they are in the bike rather than on top of it as well as helping with stability and cornering.
It also helps to start with a lower, more extreme BB drop for a first draft and into sampling. It's much easier to reduce the BB drop (increase BB height) at a later date than it would be to increase BB drop and deal with all the extra challenges that creates.
Rear Centre Length
After some careful consideration we decided to go with a 435mm rear centre (remember, this is just to allow us to design a prototype). In our experience, 435mm provides a good balance of stability/grip vs playfulness.
Of course we're aware aware that frames with variable rear-centre lengths are all the rage currently but personally as a relatively tall rider (6' 2") the last thing I would want on a bike that’s all about fun is a long rear centre. And at this point we're just trying to move forward with a design we can test rather than trying too hard to dial in sizing metrics.
Kinematic characteristics
The Kinematics are something that most likely will change throughout development both in software and later, in ride-testing. However drawing on previous experience riding a whole load of other downhill bikes and what we had learned through developing three iterations of the Edit we settled on a few key characteristics for the first samples:
- Progression of around 25-30% which should mean there’s enough mechanical progression to prevent blowing through the travel on big hits but not so much that less aggressive riders struggle to reap the rewards of a long travel bike. At 25-30% progression the bike will also play nice with both Air and Coil shocks without having to prioritise small bump performance over beginning/end stroke support.
- Increased rearward axle movement early in the travel aiding small bump performance.
- Low anti rise value rising throughout travel to aid in higher energy braking situations

The Package
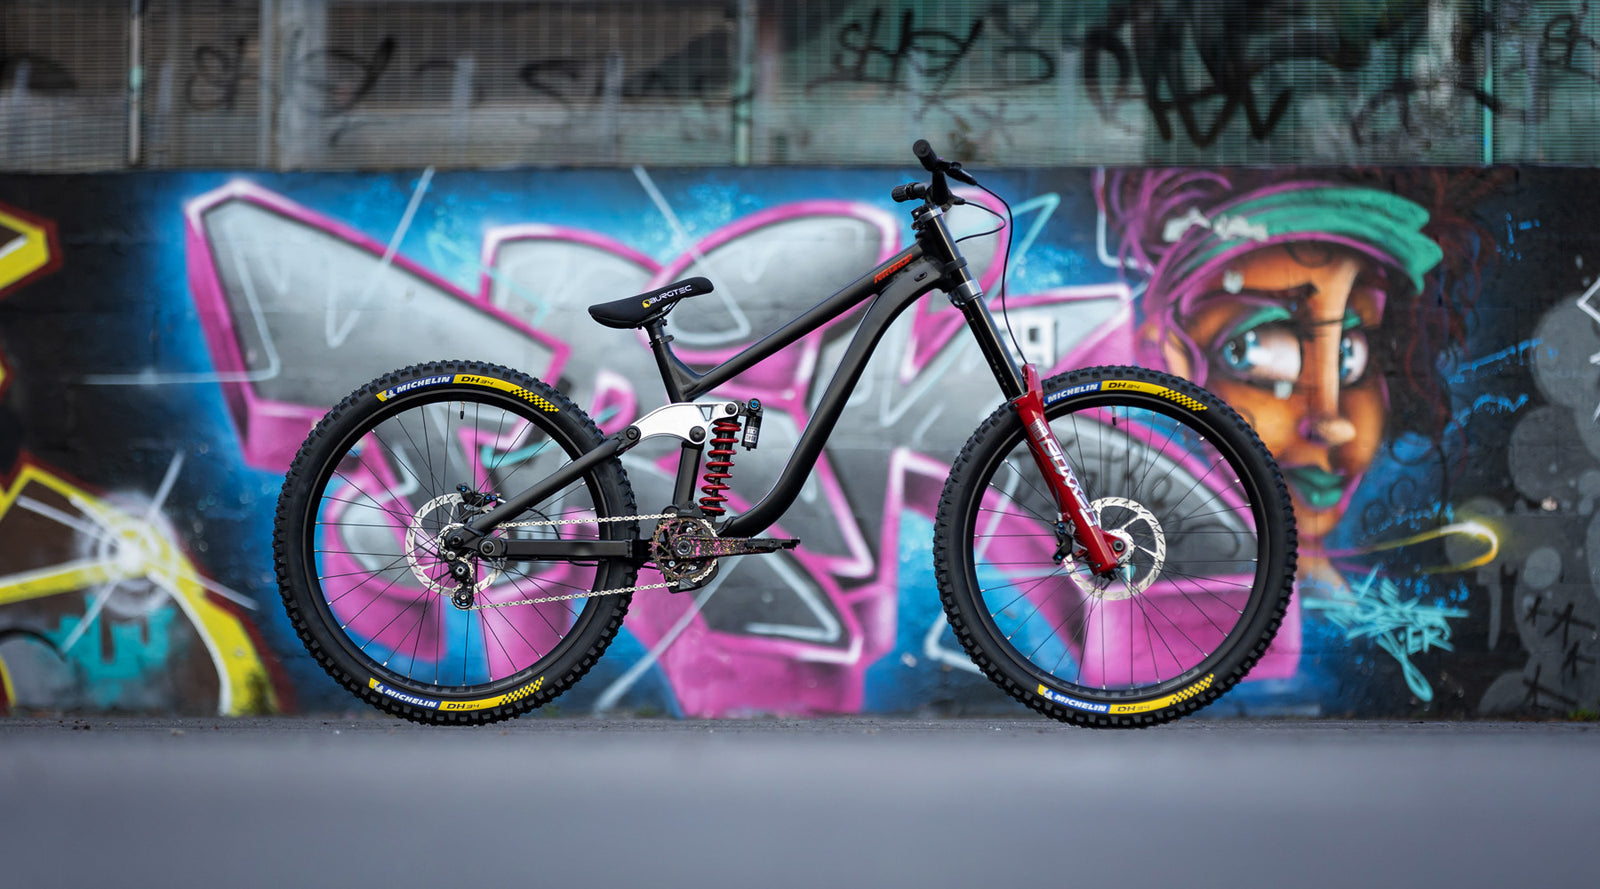
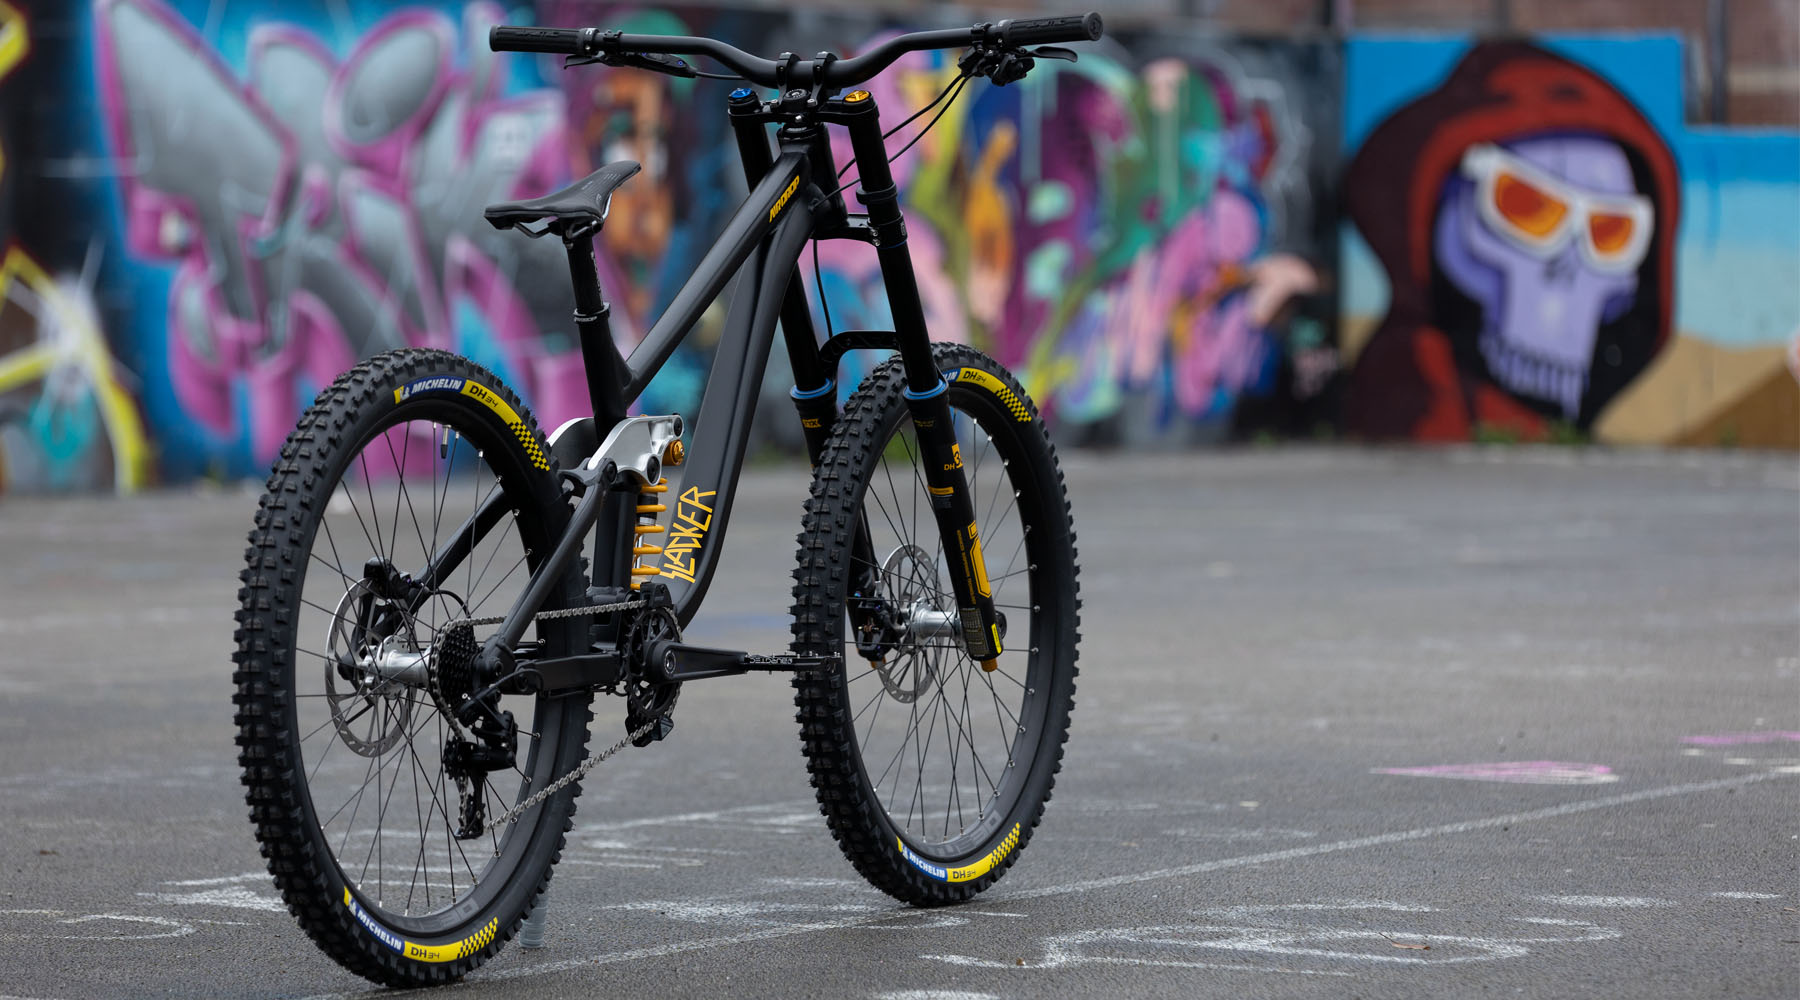
So that's our package defined. The Slacker will be a 27.5 inch wheeled downhill bike with 200mm rear wheel travel. It'll run a 225x75mm trunnion rear shock; the kinematics will be pretty progressive and it'll be low, with a relatively short rear end. Oh, and it'll be made of alloy and almost certainly in the same factory we use for the Edit v3. If you add all of that up, it should hit the brief of being a riot to ride. But that is if we manage to design something within all these constraints, and that's where we're going next.
Over the next couple of chapters we'll talk you through the kinematic work which defines the suspension characteristics of the bike and the pivot locations, then we'll get into geometry. That's when we'll really be able to start sharing some detailed drawings and having the inevitable arguments about head-tube angles. After that? We'll need to get some prototypes made...
Previous Chapter:What Does Downhill Mean To Us? |
Next Chapter Coming Soon:Slacker Kinematics |

2 Responses

Leave a comment
Comments will be approved before showing up.
Also in The Slacker Project

19: The End
We made it. And although it's been a massive team effort, James has been the main man. So it's only fitting that he should have the last word...
Read More


18: The Devil's In The Details
One last chapter to nerd out on all the little details of the Slacker frame before we launch in a couple of weeks.
Read More

Russ Wynn-Smith
February 25, 2020
Read this again last night. It’s been a month since Part 5 was released… We need Part 6! Actually, we just need to see and order the bike!!! lol
Can’t wait for the next instalment, really fancy a DH bike this year, mainly because we’re off to Morzine in August. Shame this will probably be released after that 😔
Keep plugging away, until P6 🤘🏻