
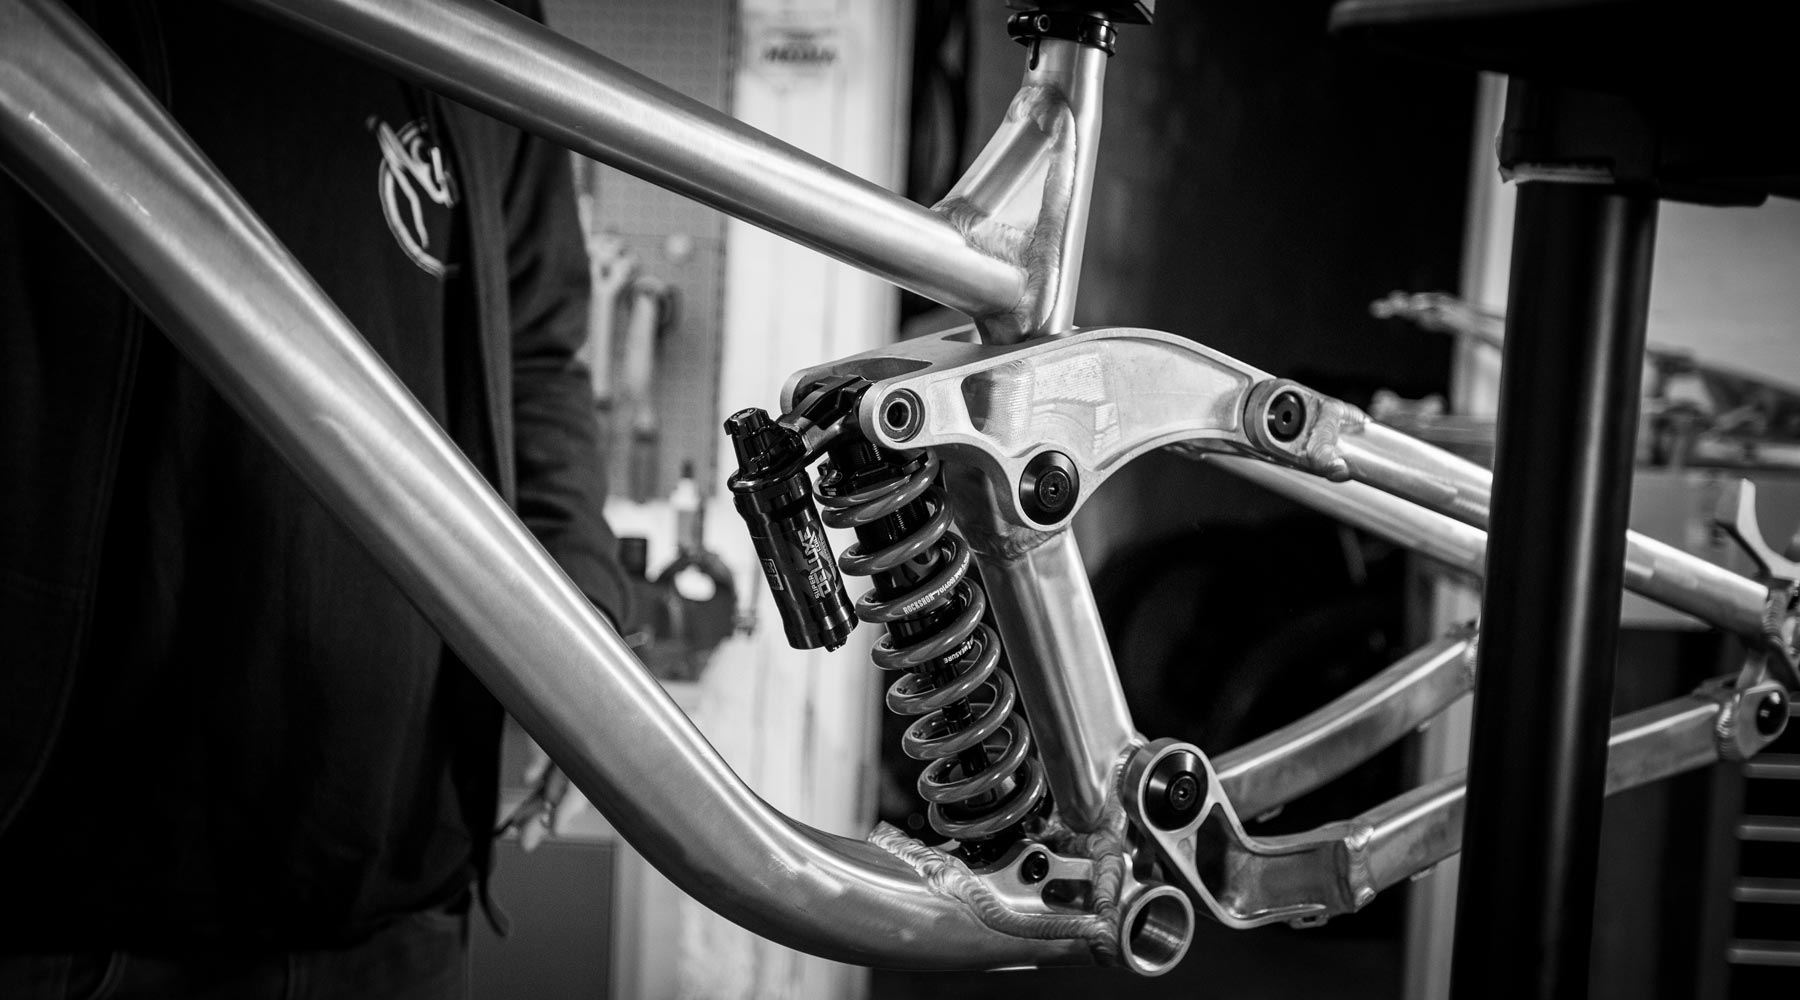
6: Suspension
Getting the Slacker's kinematics right is critical to the whole project; this is the stage where we make the big calls about how the bike's going to ride.
Now that we've defined the hard points and the overall package of the bike we can get in to the nitty-gritty of suspension Kinematics. This step is one of the key phases in determining how the bike will ride and so it's absolutely critical to get this right before moving forward.
A conventional definition of kinematics is "the study of the motion of mechanical points without consideration to the forces applied". In terms of bike design this relates to the relationship between the various pivot locations and how they affect suspension behaviour.
The real art to Kinematics is manipulating the pivot points in a way which favour your preferred characteristics. There's no silver bullet here; moving one pivot millimetres will have both a positive and negative effect in one way or another, so the trick is to arrange your pivots so they deliver the suspension characteristics you're looking for with the fewest compromises. You need to pay special attention to clearances at all points in the travel so defining your hard points prior and really understanding the limitations of your layout is imperative (see Chapter 5: The Package).
Challenges
Every bike and every layout has its challenges. If you can identify those early in the design process you can better understand them and make sure you're always working towards a solution. For example with the Slacker:
-
Tyre to saddle clearance at full travel.
It’s commonplace on smaller DH bikes to hear the saddle buzz the tyre - to us that’s not acceptable. We want to make sure smaller riders can run an acceptable saddle height without the tyre buzzing the saddle at bottom out. This means defining a minimum saddle height and keeping an eye on wheel position at full travel vs saddle position, then coming up with seat-tube layout that both works with the pivot locations and allows the tyre to clear the saddle. -
Standover clearance on small sizes.
One of the drawbacks of a vertically mounted shock - particularly on bikes with longer eye-to-eye shocks - is the height of the upper eye and how this can impact on tube angle/layout. Factor in the stack of the shock and the reduced static BB drop of a DH bike and it can increase the standover. With that in mind when plotting the pivot locations it's important to consider the overall layout.
The Process
Before getting started on the pivot locations themselves I like to set up a simple 2D model using basic shapes to define parts and clearances. The 2D model would consist of all relative constraints with the BB centre as the origin. This allow me to better understand the clearances and means I can go back and forth between programs amending the model as we move pivot locations to make sure we aren’t creating any clearance issues.

Once I've laid out a basic 2D sketch of the rear centre of the bike I get started on the kinematic work. We do all our kinematic work using Linkage Professional, which is a relatively affordable piece of software that is available for anyone to download. The first step is to lay out the bike within linkage defining rear axle position, shock eye-to-eye, seat tube angle/offset and tyre diameter. One you have this information you can get into manipulating individual pivot locations to best suit your desired characteristics.

Personally I like to work on two separate machines duplicating each move I make within linkage in the 2D model and going back and forth like this checking clearances with each move. I then work through the kinematics saving separate version of the bike as I go and overlapping different versions on graphs so I can really zero-in on our desired kinematics.
How We Want The Slacker To Ride
Arguably (feel free to use the comments section!) the kinematics are the most important factor in determining how a bike will ride. The suspension feel and feedback are one of the most noticeable characteristics of a bike. The way the bike uses its suspension defines the chassis shape/dynamic geometry, and in turn how we ride the bike. It’s a tricky one, in an ideal world you would have a kinematic that works well for all riders, excels in all terrains and allows you to use a multitude of shock options in both Air and Coil. But that’s not realistic, whatever marketing departments tell you. Good job we don't have a marketing department. So we have to make some compromises, a few tough choices and really home in a few key characteristics we think are most important. As we've discussed in Chapter 5, these design constraints are actually a positive thing and help us to really focus in on what's important.

The brief for the Slacker was all about being a fun bike to ride: Sessions not Seconds. So with that in mind we have made the following calls:
- Moderate to high level of progression, this will allow riders to take full advantage of both Air and Coil options, without unnecessary setup compromise sacrificing small bump performance in pursuit of bottom out support.
- Constant anti-rise level of 60-40%, that does not taper off heavily deeper in the stroke. Anti-rise levels around the 50% mark allow the bike to remain active under braking with enough anti-rise to assist the rider in resisting the forward momentum caused by heavy braking.
- Anti-squat level in excess of 100% in the the first 40% of the travel that quickly falls off deeper in the stroke. This will help counter the active nature of the suspension in the beginning stroke giving you that extra lick of speed when stomping on the pedals for gaps or just trying to get to the pub for that post session pint.
- Increased rearward movement on the axle path early in the early travel up until the sag point to assist in dealing with trail chatter and square edge bumps. This is difficult with four-bar bikes which are predominantly forwards in trajectory. To addres this significantly would require novel engineering solutions such as idlers as well as some kinematic compromise else where. We felt that as the Slacker is not a race bike, the effort/reward ratio is not there to pursue this kind of solution.
Leverage Ratio
The Slacker has a progressive leverage curve with a progression rate increase of 28.7% and an average leverage ratio of 2.66. A progression rate of 28.7% for a DH bike is a moderate to high level of progression. That's enough progression so that you can use either an Air or coil shock and won't have to sacrifice small bump performance in favour of mid/end stroke support. Not so much progression that you need to be an Elite rider in gnarliest terrain to take full advantage of benefits of having 200mm of buttery smooth suspension on tap.

An average leverage ratio of 2.66 balances the spring against the damper well, slightly in favour of the spring. This means you won't need to over-spring the bike and combined with the progression rate means the bike will have a natural tendency to sit in to its travel, giving the rider the feeling of sitting 'in the bike' (something we always aim for) and a stable, confidence inspiring ride.
In our view, leverage ratio and progression are the key to suspension feel and ride. And our thinking is that a leverage curve like the Slacker's should deliver a playful and poppy ride whilst still offering plenty of ground-hugging performance and stability.
Anti-Squat
The Slacker has relatively high levels of Anti-squat early in its travel, starting out a 176% 34/15T and 158% 34/25T, which drops away rapidly as you progress through the travel ending at 3% 34/15T and 30% for 34/25T. The anti-squat level is 115% at the sag point for both 34/15T and 34/25T, and remains above 100% until just past the 40% travel mark.

What this means is in the early travel the high anti-squat value will assist in resisting the active nature of the suspension up until 40% travel, after 40% we don’t expect the rider to be pedalling and the anti-squat numbers fall away minimising pedal kickback as the slacker progresses deeper into its stroke.
Anti-Rise
The slacker has a fairly flat anti-rise curve with consistent anti-rise levels throughout; starting at 59% and falling to 42% at the end of its stroke. A consistent anti-rise level of 40-60% throughout will aid the rider in resisting deceleration forces at all points in the stroke whilst the suspension will still remain active under braking.

This consistent performance throughout the travel will translate into a neutral, predictable ride which should allow the rider to focus on riding rather than wrestling the bike. Again, that's a characteristic we try to build into all our bikes.
Axle Path
As with the majority of four bar bikes the axle path is predominantly forward; moving rearward 4.5mm until the sag point before moving forward and ending at 20.8mm forward of origin at the end of its stroke. We made an effort to increase the rearward movement early in the stroke in a bid to combat repeated trail stutter. Rearward axle paths get a lot of praise these days but they do have some massive drawbacks (of course). We were very careful not to overstep the mark on the Slacker as the compromises that come with a massively rearward axle path were not ones we wanted to make.

A significantly rearward axle path is always hailed for its square edge bump munching abilities which sounds great for a race bike but remember the Slacker is all about fun. The drawbacks of a rearward axle are as follows: In order to create a rearward axle path the lower forward pivot must be much higher than the rear axle; this then demands the use of novel engineering solutions such as idlers to route the chain around this pivot and counteract the resultant pedal kickback. Another drawback is as the wheel moves rearward out of the way of impacts it then also moves forward on rebound propelling it back into any oncoming impacts which can then lead to increased feedback. But finally, and most importantly to us is how a bike rides when the rear centre increases enormously in length under deep compression. In a straight line over rough terrain it’s great, but in corners and on takeoffs under hard compression the increased rear centre length can make the bike feel cumbersome. It’s hard to describe but having ridden high pivot bikes to me it feels like they rob you of your pump and pop which is not what we wanted for the Slacker.
Roundup
We feel pretty confident in the calls we've made so far, but as the saying goes, “the proof of the pudding is in the eating.” Until we have physical prototypes and we've spent plenty of time riding the Slacker we can’t be certain we have got it all right. When it comes down to suspension feel and characteristics no amount of graphs can tell you how it will feel on trail so there really is no replacing putting some ride time on the prototypes.
And we absolutely can't wait to do that...
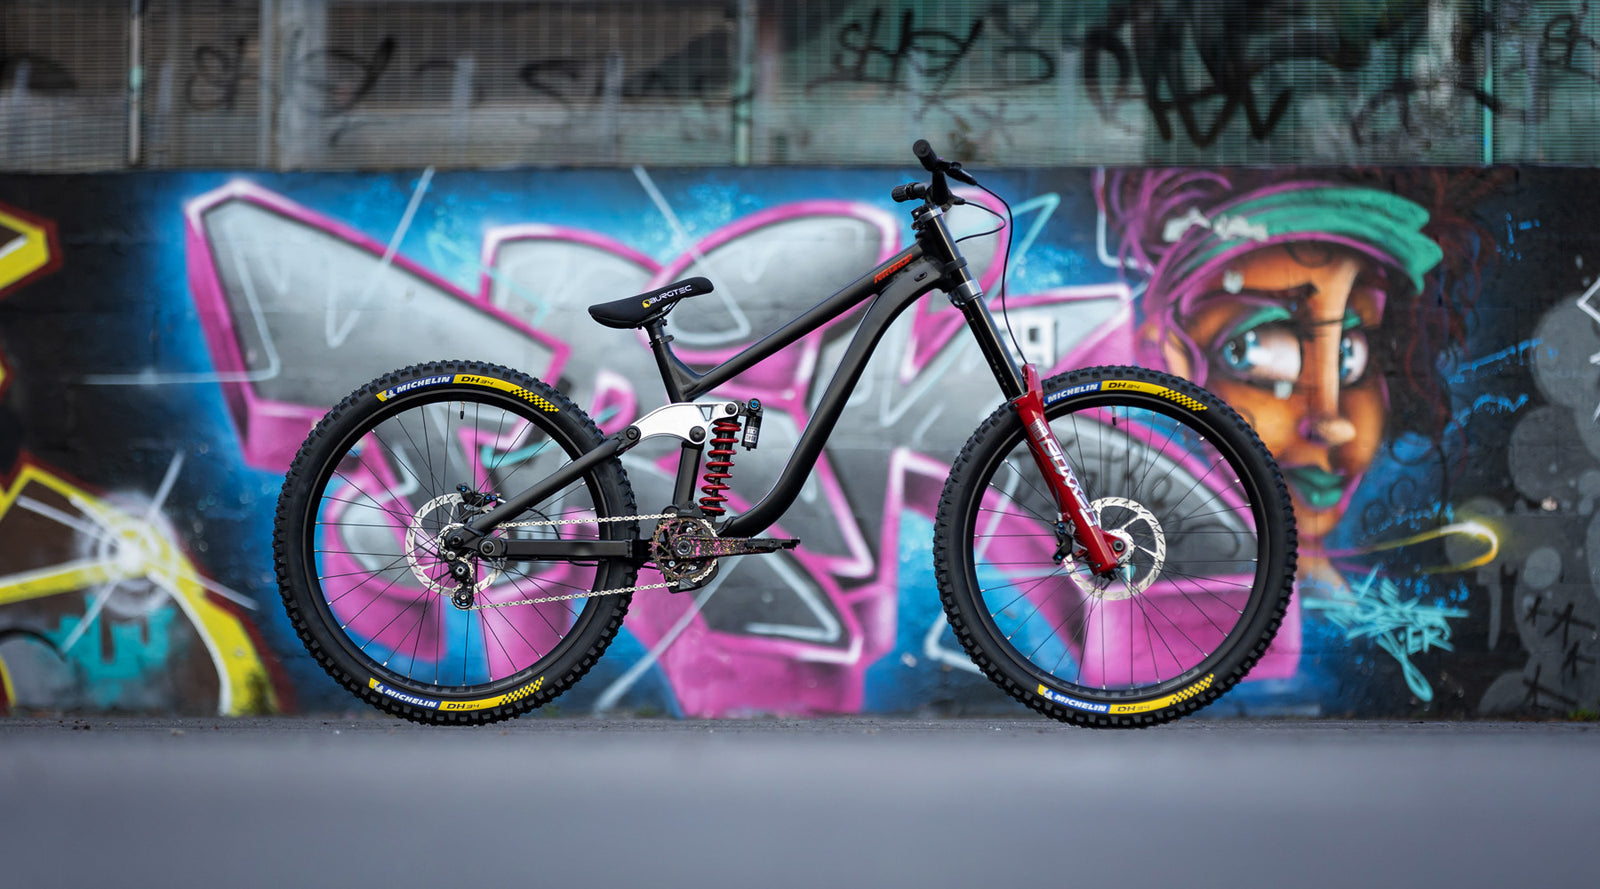
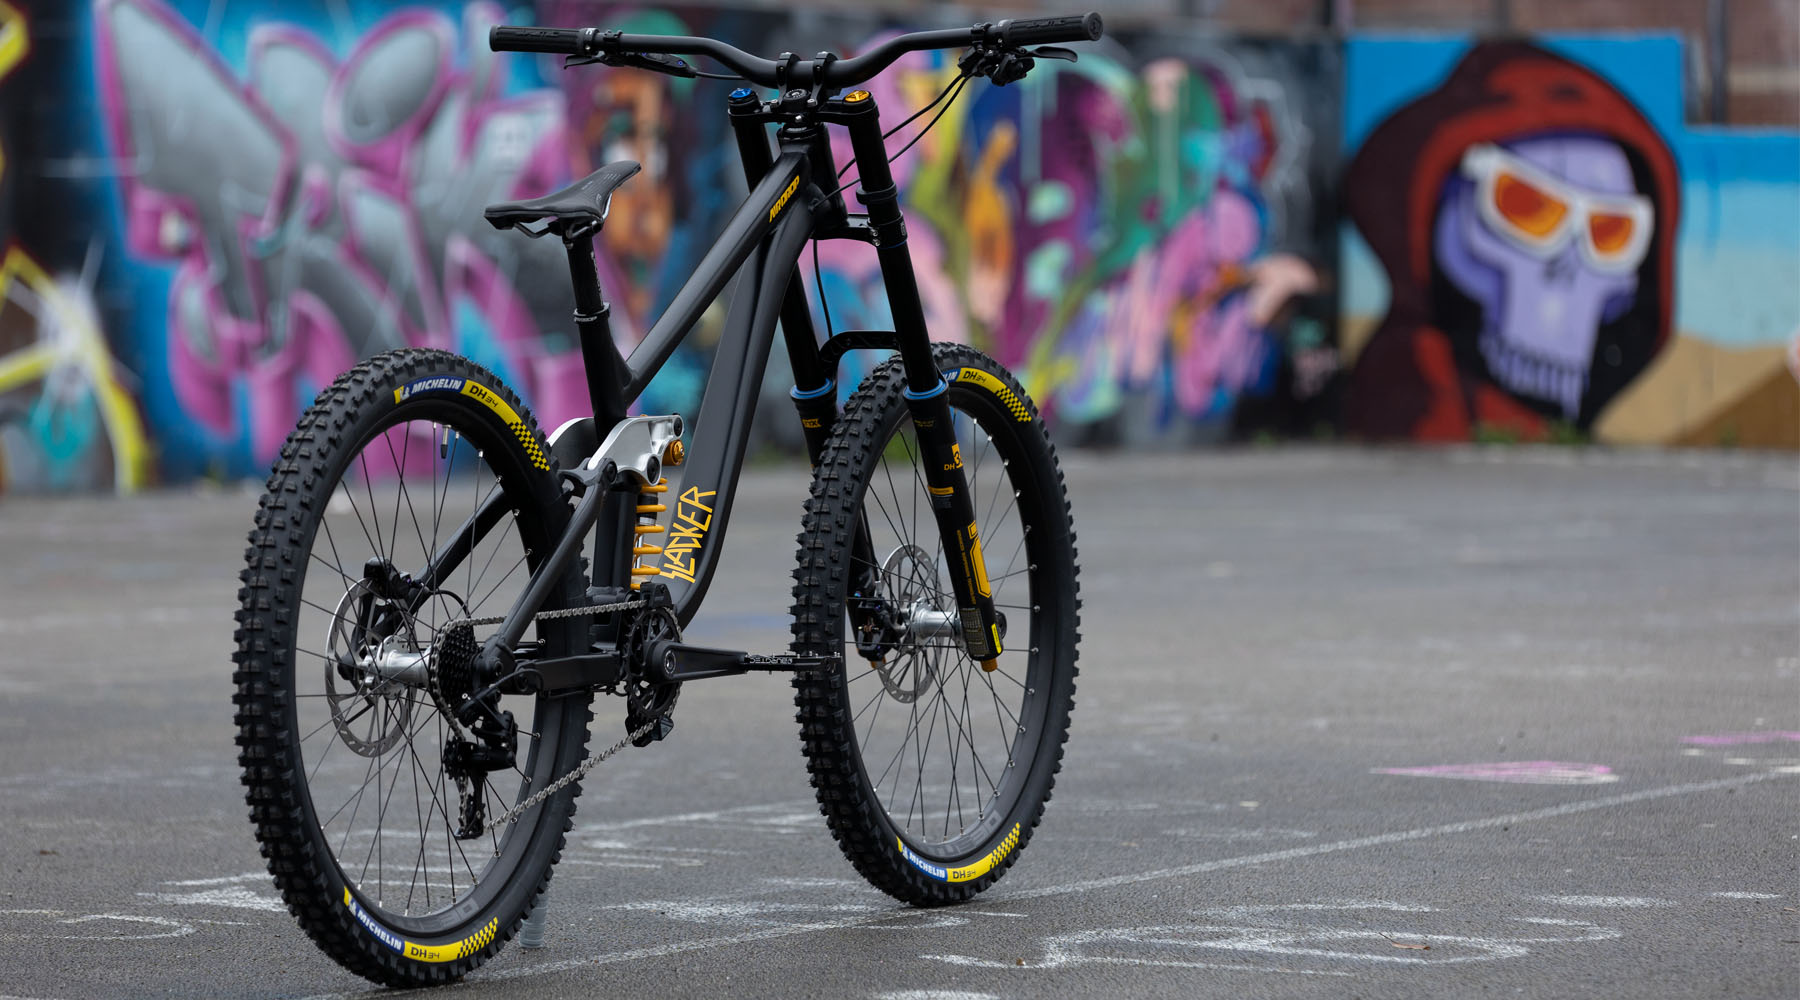
Sneak Preview
Well done. You've got this far and that means you've been reading a lot of technical detail and so far, you haven't even seen a bike. So here's a little sneak preview of the first Slacker prototype which is just around the corner. From now on, things are going to get real...

Previous Chapter:The Package |
Next Chapter Coming Soon:Geometry |

4 Responses


Leave a comment
Comments will be approved before showing up.
Also in The Slacker Project

19: The End
We made it. And although it's been a massive team effort, James has been the main man. So it's only fitting that he should have the last word...
Read More


18: The Devil's In The Details
One last chapter to nerd out on all the little details of the Slacker frame before we launch in a couple of weeks.
Read More

Ally
April 24, 2020
This is ridiculously exciting stuff!!! I can’t wait to see it hit some dirt! Well done you lot on doing this…!