
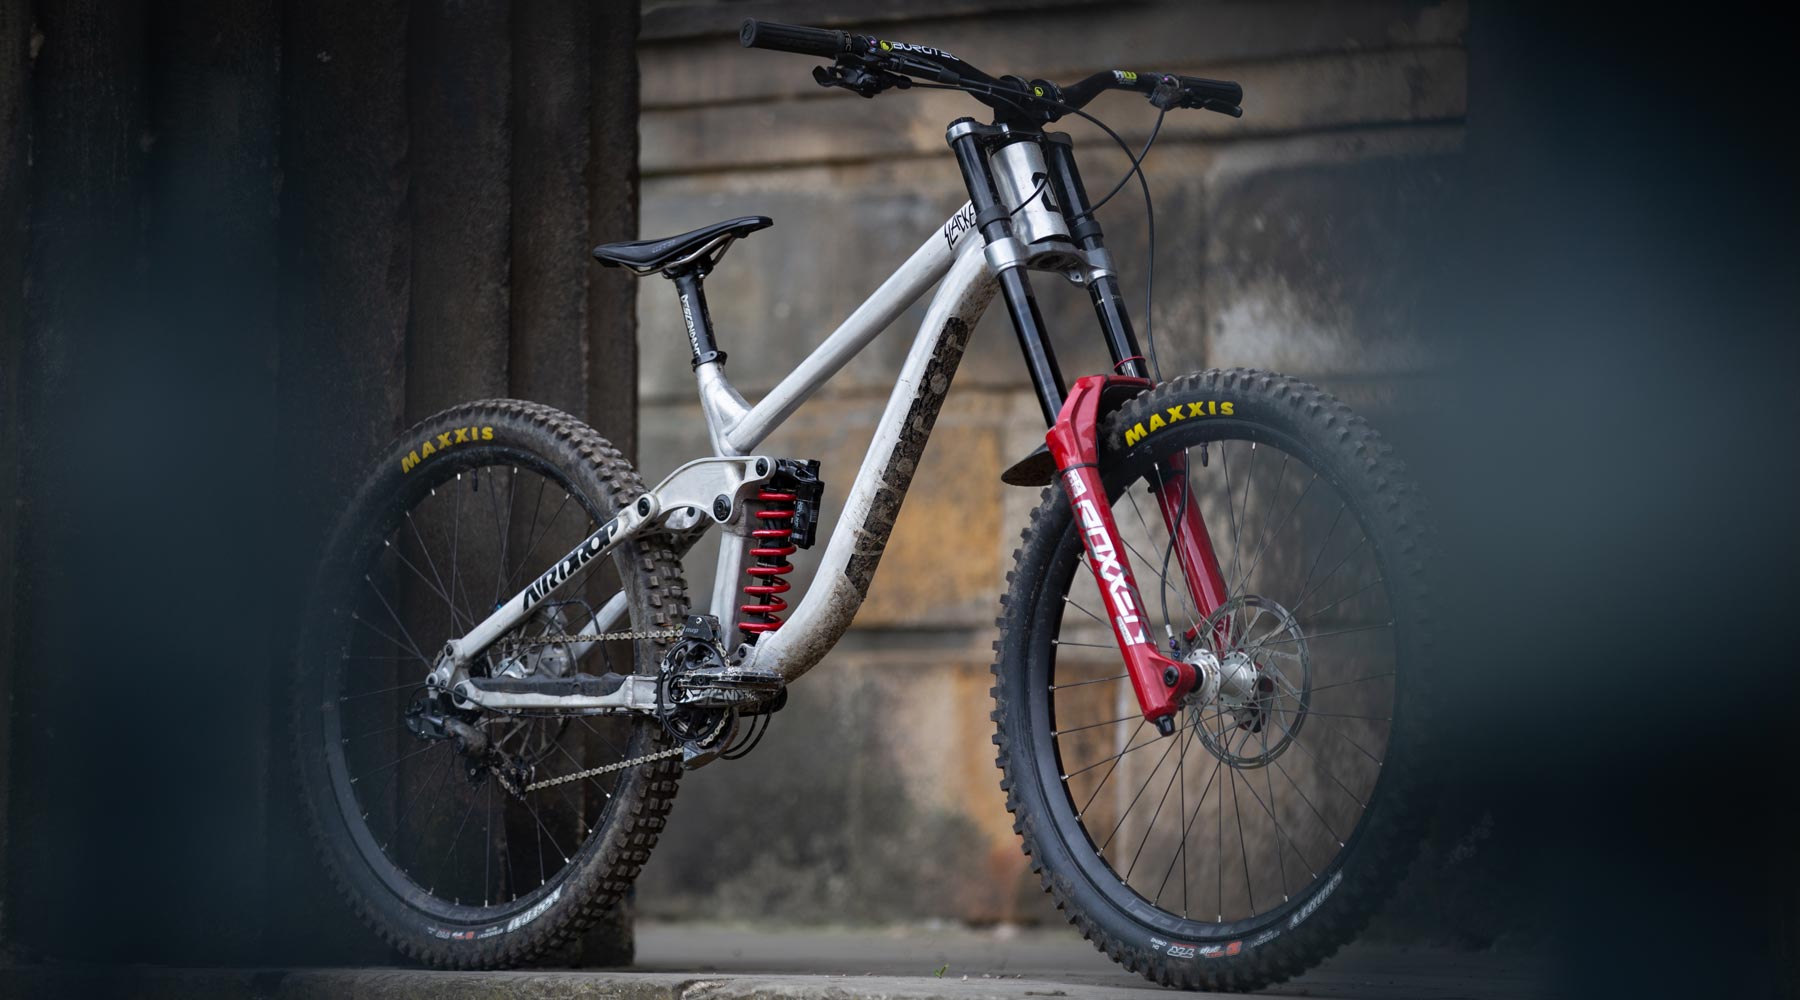
7: Geometry
Geometry: the last piece of the puzzle before prototypes. It's one of the most critical steps and an area that can inspire heated debate, so let's get into it...
Now that both the hard points and kinematics are defined the next step is to define geometry which will round-out the work on designing the Slacker's core characteristics. We like to view geometry as comprising of two key elements; first the sizing and fit for the bike, and secondly its handling. In other words, this is the stage where we have to understand how a range of potential riders (in all shapes & sizes) will interact with the bike. In that sense it's principally ergonomic work, but there's also an aesthetic component to it as well - the Slacker has got to look right as well as perform.
Geometry is a hotly debated topic and of course, it's highly subjective. Most of us have a loose understanding of geometry trends and it's a battleground for the armchair engineers and the keyboard warriors. Of course, they have the luxury of not having to design the entire bike from scratch and solving all the consequent design challenges, which is what The Slacker Project is all about. Yes, geometry is one of the key defining factors in how a bike rides, it is just one part of the puzzle and it's impossible to understand a bike by looking at a geometry table alone. So, armchair engineers, sit down at the back.
If you follow Airdrop as a brand you're probably already aware that we don’t sit in the super progressive extra-long reach camp (check out out our longer lower slacker blog from 2018). Too often that is done essentially as a marketing or a brand positioning strategy: want to be progressive? Make your bike really long. Want to be cutting edge? Make it even longer. That gets you media attention, it gets you hype and it definitely sells bikes. We have our own way of doing things (usually the hard way). We like all our bikes to be engaging to ride and first and foremost be fun. The Slacker is no exception to that rule.

Challenges
One of the biggest challenges actually is a financial one, especially for a homegrown bike brand like Airdrop. When setting up production, each size requires specific tooling. If we want to get to the Slacker into production (which we do), we need to keep an eye on the costs. This means getting creative with sizes. For bigger companies, tooling is a drop in the ocean; when factored against huge production quantities the effect on unit price is marginal. But for brands like us and the potential reality of the Slacker only being a one-time production run of 100 frames it’s something we have to consider.
With that in mind we decided to explore the possibility of building only two frame sizes - effectively a 'short' and 'long'. To get the most out of those two platforms, we're also developing a reach-adjust headset (more on that later).
Process
Settling on the geometry numbers is relatively straightforward. We have strong opinions on how we want the bike to ride and are very comfortable with the numbers that will best deliver those handling characteristics. But there is a little more to it than just throwing a few numbers in a table and having done with it...
Whenever we are getting started on geometry it always helps to get the lay of the land. So we compile a geometry comparison table of what we see as being the leading bikes in the market (not necessarily the most obvious choices). This will usually comprise of 10-20 models from all manner of brands. It’s always an interesting exercise and quite often some bikes aren’t as you would expect. Once we have collated all the info we can then identify outliers, extremes, averages and median numbers across all sizes. This helps to identify geometry trends and understand if the industry has reached a consensus in any areas. Ultimately this rarely affects our own choices and wouldn’t stop us going our own way, but it’s good to sanity check the numbers you have in mind against what everyone else is doing. It's also a good opportunity to understand what other bikes are out there for customers to choose from and where the bike we're developing might fit into the big picture.
At this stage we also like to understand the bike's potential riders in terms of sizing, then narrow down the height range for each size. That's always a tricky one to get right. We like to discuss with riders we know & respect what they are riding and what their preferences are. This step is often overlooked, it’s really easy to understand your own geometry requirements but understanding what works for others and why is key.
Once you have all the above info dialled in it's much easier to have a constructive conversation around our own ideas for the Slacker's geometry and commit to a set of numbers for the first round of samples.
The Numbers
This is the bit you came here for! But first, a disclaimer: these numbers are just for the first round of samples. No doubt they will change for production (if we get there). These numbers will allow us to get started on rider testing, and as that progresses we'll be able to test our assumptions and evaluate what we got right first time round.

| Size | Short | Long | |
|---|---|---|---|
| A | Reach | 440 | 470 |
| B | Seat Tube | 410 | 410 |
| C | Top Tube (effective) | 575.4 | 607.1 |
| D | Chainstay | 435 | 435 |
| E | Head Tube | 120 | 125 |
| F | Head Angle | 63° | 63° |
| G | Seat Angle (actual) | 69° | 69° |
| H | Bottom Bracket Drop | -12 | -12 |
| I | Wheelbase | 1225.9 | 1258.1 |
| J | Fork Length* | 582 | 582 |
| H | Fork Offset | 36 | 36 |
*Based on a Rockshox Boxxer 200mm.
How We Want The Slacker To Ride
As with other elements of the design, geometry is all about making the right compromises and homing in on what handling characteristics best fulfil the brief, so a quick reminder of what we said in the original blog post:
"A bike that loves cutting loose and slapping turns. It should be an absolute riot to ride, perfect for pounding out laps in the bike park, uplift days, a summer holiday in the mountains and just messing around in the woods."
We don’t tend to advocate super long reach, long rear centres and unnecessarily slack head-angles. That doesn't mean we're luddites or that our bikes are backwards; we just like to make up our own minds on how bikes should be. Any Airdrop bike first and foremost should be engaging to ride, striking a balance between stability and agility. We aim to put the rider in charge; our bikes are designed for riders not passengers.

We want the Slacker to be a fun bike to ride, sessions not seconds. We are looking for a bike that feels lively, has a certain ‘snap’ in the corners, a bike that begs to be ridden hard but not one that you need to be a world cup DH racer to get the most out of. It should allow you to push your envelope that little further. A DH bike for the riders not the racers.
Reach & Front Centre
For the first round of samples we decided to explore what we could do with just two frame sizes. To maximise the flexibility of these two frame sizes we also designed a reach adjust headset that would allow 5mm fore and aft adjustment, as well as being centred. That gives us six different reach options out of two frame sizes and once a customer has bought a frame, they would have three positions to play around with. It will also give us the opportunity to test different setups and validate our initial ideas on reach.

We don’t want to go too crazy on the reach. In order to keep the Slacker playful, we won't increase the length of the front centre too much. Typically, we have always preferred a slightly shorter reach on our DH bikes to AM/Enduro rigs but we believe that to be more to do with the length of front centre than the reach dimension itself. As a 200mm DH fork has a much longer axle to crown (582mm compared to 552mm on a 160mm fork), the static front centre naturally is much longer even with the same reach and head angle numbers. The front centre and in turn wheelbase have a profound effect on how the bike will feel on trail, too long and the slacker will be a handful, too short and we will sacrifice stability.
For the first prototypes, we opted for reach dimensions of 440mm and 470mm. This will give reach increments of 435/440/445mm for the Short and 465/470/475mm for the Long, which in turn will result in front centre increments of 786/791/796mm and 818/823/828mm.
Seat Tube Length & Layout
Obviously, the seated position is not so important for a DH bike so we aren’t forced to make the same compromises in this area as with other bikes (it's a real challenge on big-wheeled bikes in particular). The position of the saddle when standing has a different significance though; good riders will use the saddle when cornering, so it needs to be in the correct position for this. The saddle should be further back than on bikes where the pedalling position matters, giving the rider more clearance and amplitude where a little more body English is required.
Another key consideration is saddle-to-tyre clearance at full travel, especially for shorter riders. There is no point having a super short seat-tube if the saddle can’t be slammed, unless you want to tell riders not to do that. So again, a balance must be struck.
For the Slacker we opted for a 410mm seat-tube length, 69° seat angle and 103mm seat tube offset. This would allow the rider to run the seat at a minimum height of 510mm BB centre to top of saddle (dependant on choice of saddle).
We're aware that a lot of customers focus on seat-tube length and it's often over-simplified to 'the shorter the better' which isn't strictly true. It’s also worth mentioning that if we had chosen to go any shorter on the seat-tube we would have gained very little but sacrificed both weld area and seat-tube insertion depth.
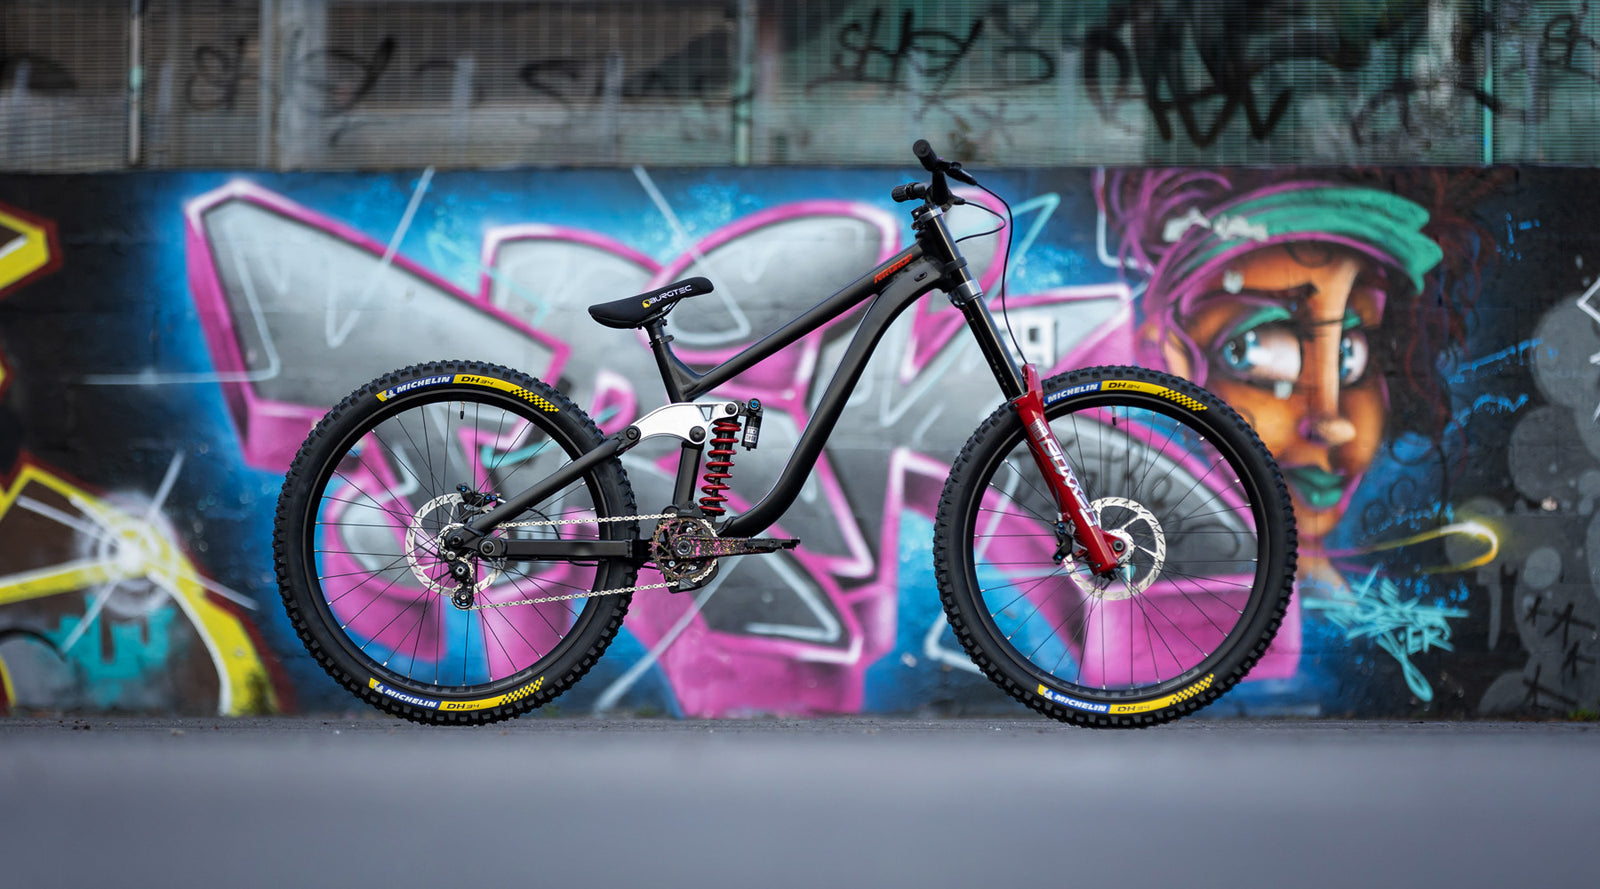
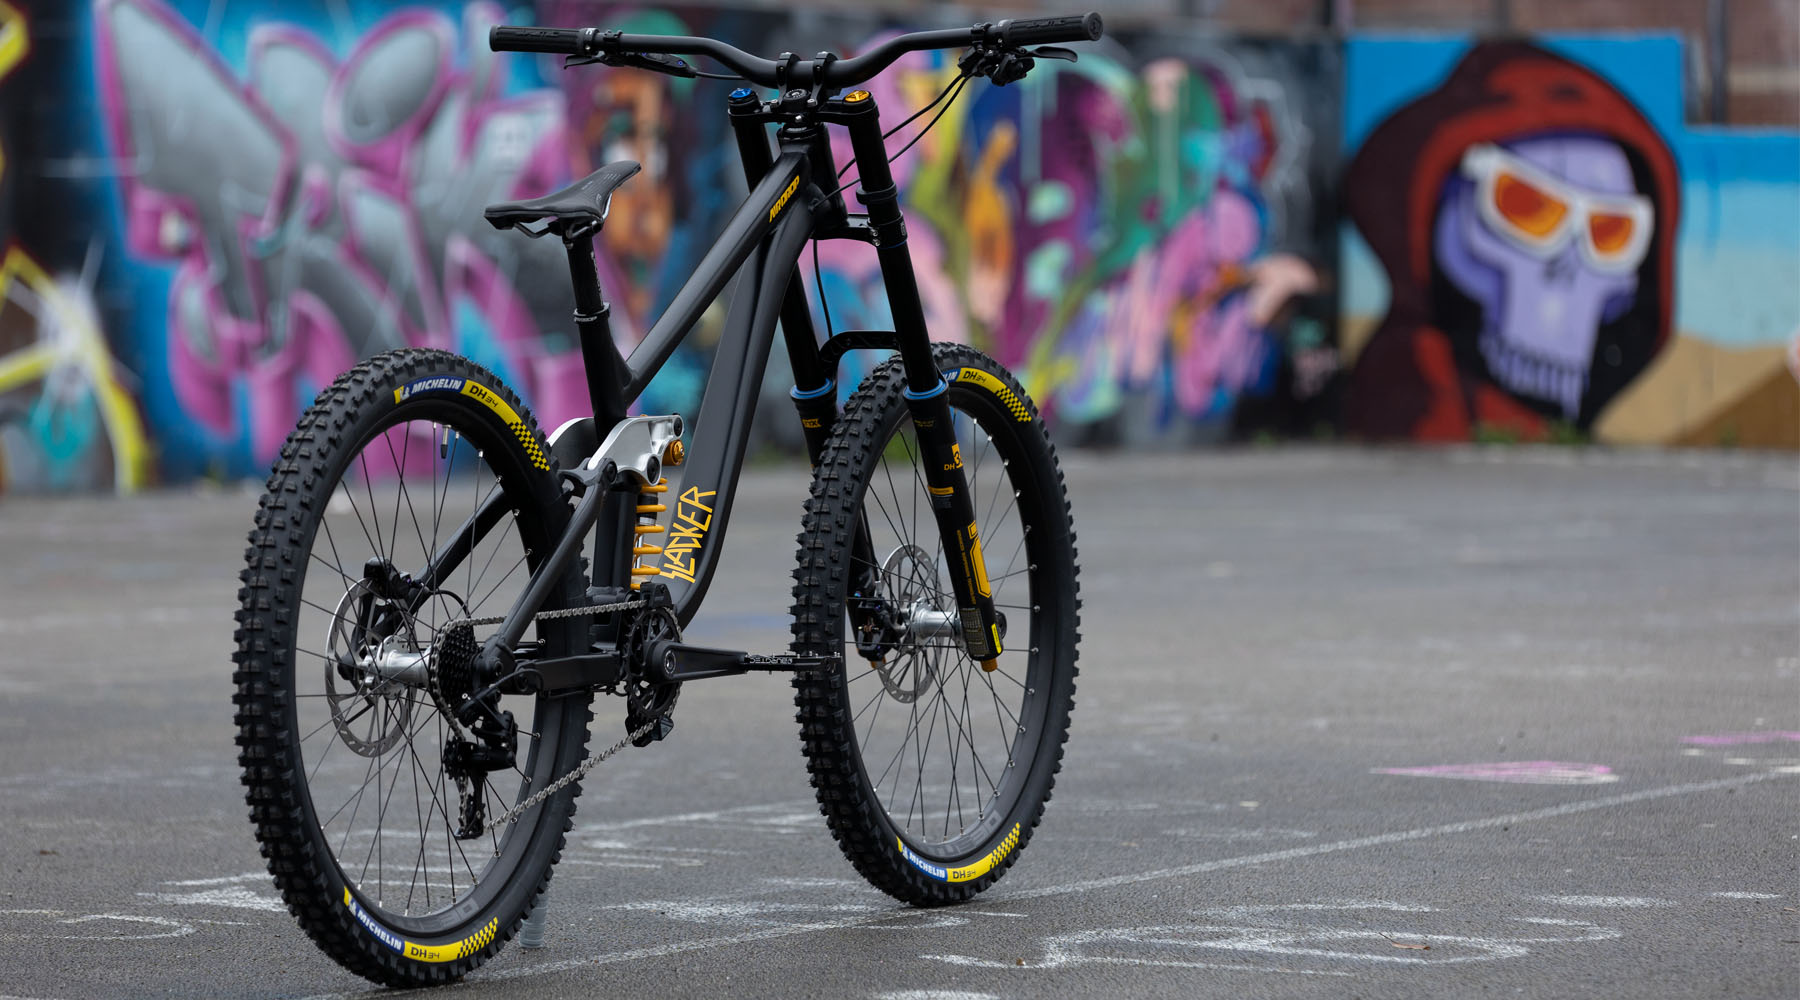
Standover
With AM or Enduro bikes, standover might only be a concern for shorter riders, but it's particularly important for a DH bike. A nice low top tube on a DH bike can be a real advantage. When riding DH bikes typically we are more animated; the extra suspension, rougher tracks and higher speeds demand increased rider input.
One of the earliest considerations in the design process was to mount the shock as low as possible in the frame. It meant paying special attention to shock position during kinematic development and some back-and-forth work between kinematics and layout to get it right. Instead of positioning the lower shock mount on top of the downtube, it's actually positioned inside the tube, with a bespoke CNC cradle drawing together the shock mount, BB shell and seat tube.
As a result, the Slacker has a standover of 710mm taken 70mm forwards of the seat tube. As the design shares the same seat-tube length across all sizes it made sense to offer the same low standover to taller riders, regardless of reach.
Chainstay Length
As with reach and front centre we're working to balance stability against agility here. As a general rule, our design ethos is to favour a slightly shorter chain stay, so we opted for 435mm. We're confident we can deliver plenty of rear tyre clearance - actually more than most DH bikes - without compromising on the pivot locations we want. It's a number we feel offers the right amount of grip and stability, but still offers that tyre-peeling direct and lively feel in the corners.

There is a lot of discussion about the merit of longer stays, and also size-specific chain stay lengths; two separate but related issues. We agree with the logic that proportionate rear- and front-centre length makes a degree of sense, if you can get those proportions right, which doesn't necessarily mean just adding 5mm onto an XL frame. And a point that is rarely addressed is that variable chainstay lengths would mean different kinematics for each size, with consequent differences in suspension behaviour. As ever, there's a compromise to be struck and also a price to pay.
BB Drop
We decided to go with 12mm of BB drop (meaning the BB centre sits 12mm below the axle centres). Typically, we favour a fairly low BB at Airdrop and this number certainly follows that ethos; it's one of the lowest BB’s on any DH bike.
A lower centre of gravity will aid in cornering, giving a more planted and stable feel. It should also mean the rider will feel like they are sat in the bike rather than perched on top of it. The trade-off here is less ground clearance and a greater chance of pedal strike, but that’s a compromise we are willing to make - and something that can be mitigated with good technique.
Head Angle
For the first round of samples we opted to start out with a 63° head angle. That’s relatively slack but should be right at home in the bigger, gnarlier terrain the Slacker is designed for. It’s a number we have previous experience with on other DH bikes we have owned so something we are quite comfortable with.

The head angle is something we are going to play with throughout the development process. We will be testing different setups and experimenting with different front-centre lengths using head angle, reach and offset as variables.
Static vs Dynamic Geometry
Typically we view geometry numbers as static - i.e. with no forces applied. It's a convenient way to express a bike's geometry without caveats and it's helpful if you're a customer comparing one bike with another. But with a longer travel bike, it's also worth looking at dynamic geometry - in other words how the geometry changes with forces applied.
Two bikes with identical static geometry may not share the same dynamic geometry. Sag, travel and kinematics have a profound effect on the dynamic geometry and it’s this relationship between suspension and geo that control the chassis shape and feel as it's being ridden.
To illustrate, we’ve put together two drawings showing static geometry and dynamic geometry for the Slacker. Static geometry is unsagged, on a flat plane:

For the dynamic geometry we have used the recommended sag positions - 33% (66.6mm travel) in the rear and 20% (40mm travel) up front.

It may sound obvious, but it's worth pointing out that we're typically sagging the bike further into its rear wheel travel than front - pointing to the Slacker's front/rear bias which is an important design consideration. Remember - as a DH, the Slacker is meant to be pointing down a hill basically all the time.
As the bike sits into its suspension the front triangle effectively rotates 1.5° anti-clockwise, resulting in a 61.5° head angle and a reach reduced by 18mm to 452mm. The BB now sits 44mm lower than its starting point resulting in a BB drop of 66mm. Meanwhile the chainstay length has grown by 7mm to 442mm. The wheelbase has also shrunk by 13mm from 1257mm to 1244mm.
What's Next
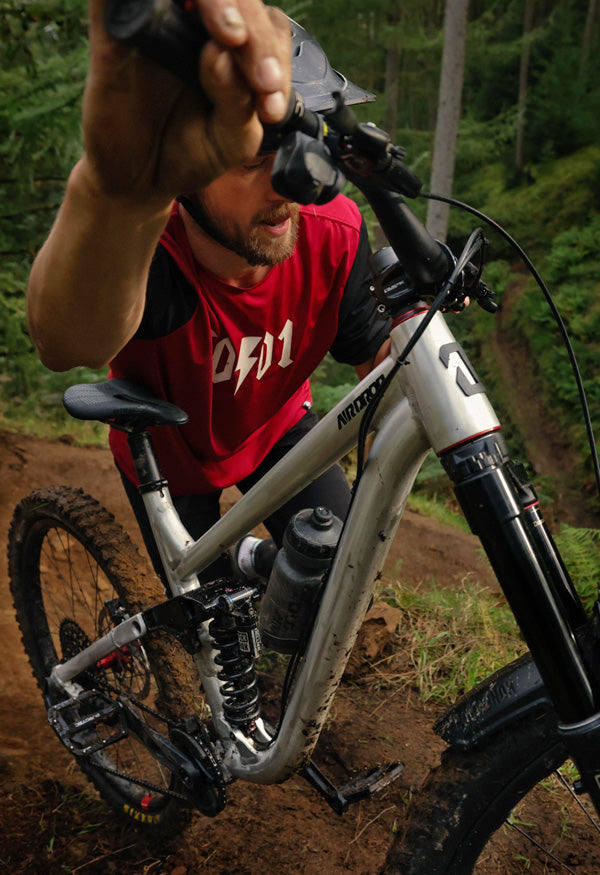
The prototypes are in the building. We've done a full teardown, built them up and we'll be lifting the lid in the next blog post.

What’s next for us is a Summer of riding the samples (lockdown rules permitting). Rider testing will likely take us right through to the end of Summer before we evaluate and move on to the next stage of development. We'll share our progress as we go along and we'll be writing blogs throughout the summer detailing our findings.
Previous Chapter:Suspension |
Next Chapter Coming Soon:Testing |

6 Responses


Leave a comment
Comments will be approved before showing up.
Also in The Slacker Project

19: The End
We made it. And although it's been a massive team effort, James has been the main man. So it's only fitting that he should have the last word...
Read More


18: The Devil's In The Details
One last chapter to nerd out on all the little details of the Slacker frame before we launch in a couple of weeks.
Read More

Mike Veloccino
January 26, 2021
Can’t believe I’m only just picking this story up! Amazing insights into the process and the bike looks pretty amazing too. Looking forward to reading more.